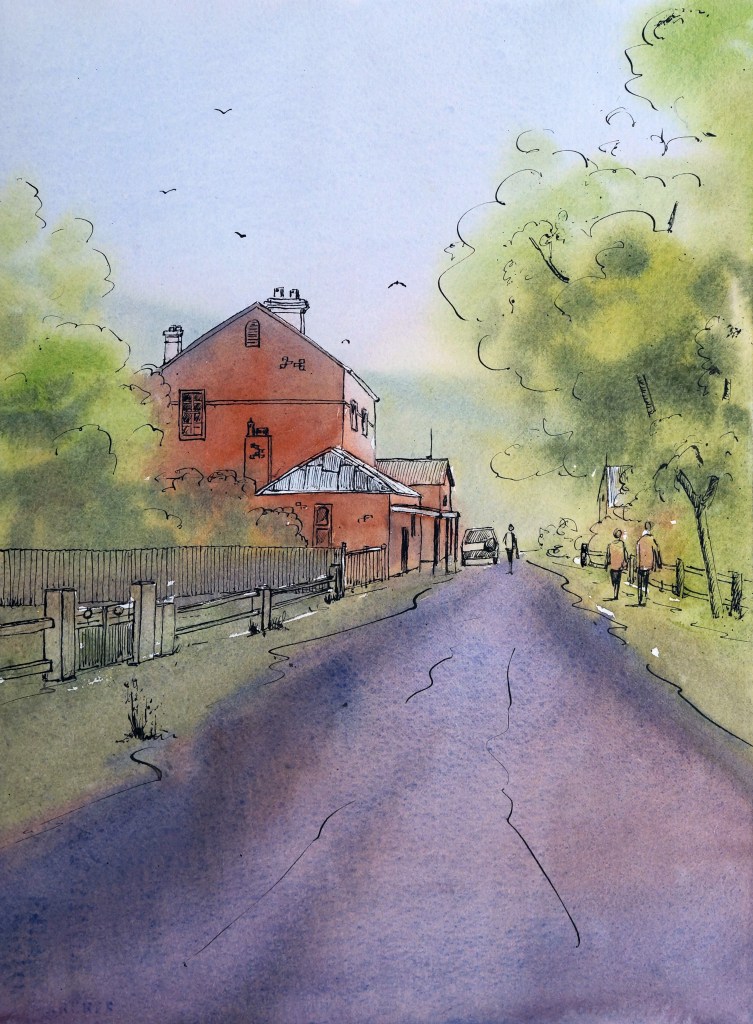
Drawing with Pen and Ink
With the paper totally dry we can begin the Pen and Ink drawing stage of this painting.
As I am right handed I start this stage with the foliage of the trees on the left hand side and work from left to right, top to bottom. This is so I won’t accidently smudge the ink with my hand as I draw.
I dip my pen nib in the black ink and draw a few lines before replenishing the ink as it runs out. If I need to stop drawing for a while I clean the nib in water otherwise the ink with dry on the nib and alter how it operates if not stop it working altogether.
I also keep some tissues and an old towel handy to dry any excess ink on my pen or painting if needed.

When I draw with the dip pen and ink I mainly drag it sideways so it catches a little on the paper. This gives the lines a little more variety and character – though this is a matter of taste and is not critical.
The ink is used to give definition to the painting with just about all soft edges being in watercolor paint and hard edges produced with pen and ink. I draw in tufts of grass here and there and shadow lines away from the figures to anchor them to the ground. Remember, shadows are away from the direction of your light source (usually the sun).

At this stage I decided to add in the lamp posts and power lines to add a little more interest in the sky area. I place these where I feel they will best help my composition – I don’t feel compelled to put them exactly where they appear in my photographic reference.
This finishes my painting so I sign it. You can see the finished artwork below.

I hope this demonstration gives you some useful tips on one of the pen and ink techniques I use in my artwork.